Install Flutter App and Run in VS Code PC
Let’s understand practically step by step how to install the Flutter framework in VS Code and run our first Flutter app.
Easy steps for the installation of the Flutter framework will be discussed in this guide, so please don’t skip any of the steps.
Steps to run the first Flutter app on a PC
1. Install VS Code and Extensions
1.1. Install VS Code
Click here to move to the official site of VS Code and click the download for Windows button. If it didn’t started downloading automatically then click the direct download link button.
Install it then and then you have to move to the environment variables of your PC and then select the path section of user variables and click the edit button.
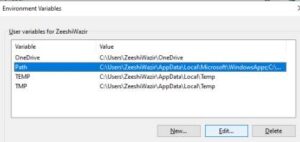
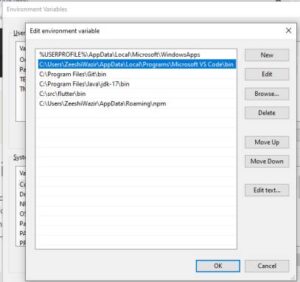
During installation, hopefully the path will be added to environment variables automatically. If it does not, then navigate to the bin where you have installed the VS Code as shown in this image, copy it and click on the new button, paste it and then apply it.
1.2. Extensions
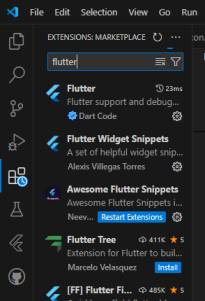
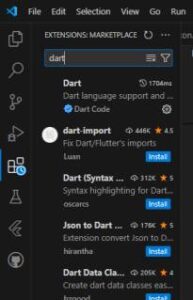
Open VS Code and click the extensions icon on the left vertical menu. Then search for Flutter, install it. Also search for Dart, install it if it’s not installed with Flutter already. You can see top of the list, I have both the Flutter and Dart installed.
You can install other extensions as well like Flutter widgets, etc to help you while you code in Flutter.
2. Install Git
Click here and click the download button. After downloading that, install the Git by installing the downloaded file so click on it and perform the guided steps.
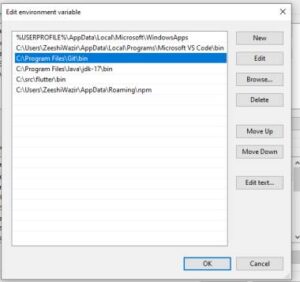
Now again open the environment variables and select the path section of user variables and click on edit button. The path showing in the above image, open your C drive and search if you found your Git, after finding it, move to the bin and copy the whole path. Then click the new button and add this path. Finally, click the apply button.
3. Install Java JDK
Click here and select the windows tabs, then download the x64 installer like shown in the below image.

Install after downloading the file, then add the path of JDK up to bin in the environment variables like I have explained in the above section.
Note: Don’t copy-paste my path, first search your JDK path in your PC C drive or wherever you have installed it, do this search for the other files as well.
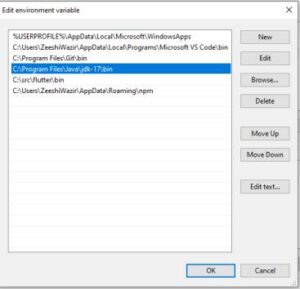
4. Install Flutter SDK
Click here and go to the ‘Install the Flutter SDK #‘ section. Then select the ‘Download and install‘ tab and download the Flutter windows zip file. Unzip it, then copy the flutter folder and paste it in the C drive src folder, if the src folder is not present, then you can create it as well.
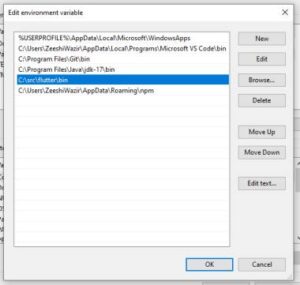
Again in the environment variables add this path of bin of Flutter SDK as well as shown in the image above. First locate your bin and then copy paste it.
5. Install Android Studio
Click here and click the download android studio button. Read the terms and accept it, then click the download button. After downloading it, open it and follow the steps to install it.
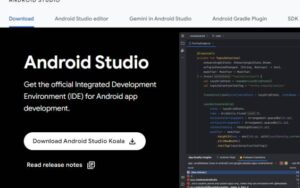
After opening it, click on the more actions, and tap on the SDK manager like shown below.
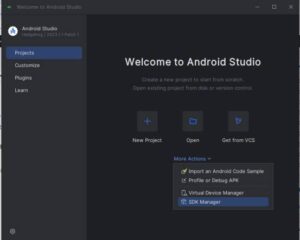
Shift to the SDK tools and install the below list items by selecting them and click the bottom right apply buttons(if not already installed):
- Android SDK build tools
- NDK
- Android SDK command line tools
- CMake
- Android SDK platform tools
6. Run flutter doctor
Write cmd in the search box of your windows or in the terminal of your vs code.
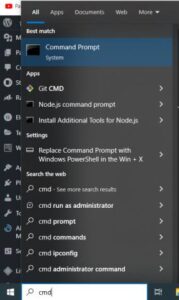
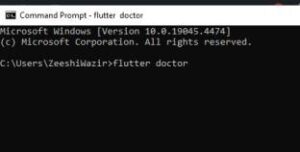
The write flutter doctor and press enter as shown below. If some y/n question came up, then press y and enter(if needed). Let the process finish.
7. Run your first Flutter App
The steps are:
- I recommend to restart the PC first.
- Then open the VS Code and you can tap on the command palette and search flutter.
- After that, select application.
- You need to select a folder where your want this specific Flutter project folders to be held.
- Finally, you need to specify a name. Don’t use spaces or uppercase letters(use lowercase letters and underscore) for project name.
- Simply press enter.
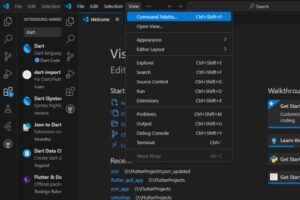
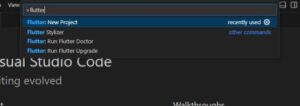
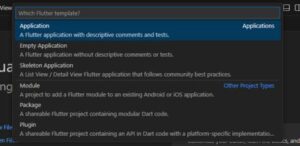

It’ll take some time to add the necessary files and folders. Attach a physical android device using the USB cable.
In order to debug and run your app. These are 2 ways:
- Press CTRL f5.
- Write flutter run in the terminal and press enter.
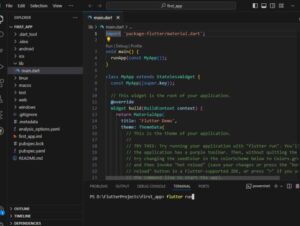
For the first time, it’ll take some time to run the app as it has to install some data too. Make sure to have a good internet connection and stay the android phone attached. If some issue occurs then again run it. Hopefully your first Flutter app will run successfully.
In case something wrong occurs, then comment it down or email me. I’ll surely help you to fix the issue.
Conclusion
So this was the step by step guide on how to install Flutter SDK and run your first Flutter app in VS Code. In the later articles, we’ll in depth discuss the amazing Flutter widgets with proper practical code examples.
If you find any issue while following the steps in the article, then comment or email me. I’ll be more than happy to solve your queries.
Thank you for reading.
