How to use Flutter Text Widget
You can use Flutter text widget using the Text() widget by passing a string as the first parameter and customizing it with properties like style, textAlign, overflow, etc.
For example, Text(‘Hye, Flutter!’, style: TextStyle(fontSize: 20, fontWeight: FontWeight.bold)) will display bold text with a font size of 20.
For a more detailed version, I’ll explain different parameters of the text widget Flutter and their usage with practical and easy code examples.
What is the Flutter Text Widget?
As we discussed in the intro, that Flutter widget is used to show and design text in a Flutter app. Design includes the customization of text size, font size, color, etc.
Let’s now understand the practical implementation of the text widget in Flutter.
Syntax
Text('I am a text')
Parameters of Text Widget
- ‘ ‘ required string parameter
- style
- textAlign
Examples to explain Flutter Text Widget
Example 1: ‘ ‘ required string parameter
As we’ve seen in the syntax section that the first parameter is string and its required but if you have a data that is not a string then you have to use the toString() method to make it string. See below:
Example 1.1
Text(5.toString())
Example 1.2
Text((5 * 7).toString())
Example 1.3
String name='Zeeshan';
Text('My name is $name')
Example 1.4
Text('The price is \$100 and name is $name')
Example 1.5
If you have a map of some items that have values nested and you want to show it inside a string then you have to use ‘${value}’. See the below example.
Text('Name: ${data['name']} Age: ${data['age']}')
Text(data['name'])
Text(data['age'].toString()) // age is not a string value so have to use the toString() method
Example 2: style parameter
style: TextStyle()
Example 2.1: color parameter
TextStyle(color: Colors.redAccent)

Here we used the color parameter of TextStyle() class and that changes the Flutter text color. The default color of text looks like black. You can give color code to it as well or in other formats like show below:
- Colors.redAccent.shade200
- Color(0xff658494)
- Colors.redAccent[400]
- Colors.redAccent.withOpacity(.2)
You can play with them to see what works better for you.
Example 2.2: fontSize of text
fontSize: 21

Example 2.3: fontWeight of Flutter Text Widget
fontWeight: FontWeight.w100

The parameter ‘fontWeight’ is used to decide how much thickness the text will have. I gave it a font weight of 100 which made the text super thin. By default, it is approximately 400. The more value you give, the bolder the text gets. You can give the values like this:
- FontWeight.w100 up to FontWeight.w900
- FontWeight.normal
- FontWeight.bold
Let’s try with bold. See below:
fontWeight: FontWeight.bold

Example 3: textAlign parameter
textAlign: TextAlign.left
- left
- right
- center
- justify
- start
- end
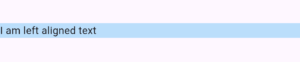
Example 3.1: left
Container(
        width: double.infinity,
        color: Colors.blue.shade100,
        child: Text('I am left aligned text',
        textAlign: TextAlign.left),
      )
Example 3.1.1
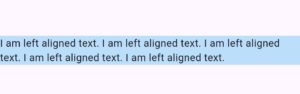
In this example, I passed a long text to show you that the alignment is left.
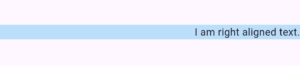
Example 3.2: right
TextAlign.right
Example 3.2.1
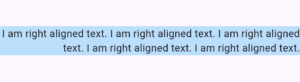
I passed a long text here to show you that even for multiple lines, the alignment is right means text will start from right position.
Example 3.3: center
TextAlign.center

We can use the center value of TextAlign to show the text in center.
Example 3.3.1
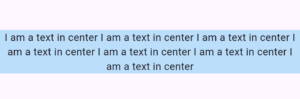
The text in multiline is also center-aligned.
Example 3.4: justify
TextAlign.justify
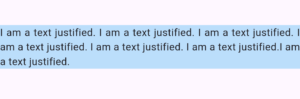
Showing the text in center alignment is done by using the center value of TextAlign.
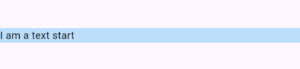
Example 3.5: start
TextAlign.start
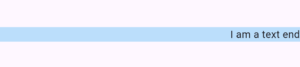
Example 3.6: end
TextAlign.end
Conclusion
We practically discussed how to easily use the Flutter text widget and its parameters to decorate and show text string. If you still have any issues regarding the text widget Flutter then feel free to leave a comment on this post or email me, I’ll be super happy to help you.
Do give a visit to my other posts on Flutter widgets as well to learn how you can make your Flutter app more professional and user-friendly. Thank you.